Part 2: PTGui and the Control Point
Assistant
You have your first images on your hard disk?
OK - to give us plenty of work to do I have chosen a real
and "imperfect" set of images. They were taken handheld and do not
meet the nodal point!
If you want to, you can also use my source
images (reduced quality, 3.4 MB download)
|
Fisheye lenses tend to have very
recognizable light falloff on the outer parts of the image. Also
chromatic aberrations are a big issue. You may want to minimize these
flaws before stitching your panorama.
Here are some good resources how this can be done:
PTShift by Eric
Gerds
More technical background about chromatic aberration can be found at the
homepages of
Jim Watters and
Erik Krause. |
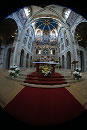
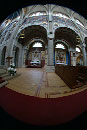
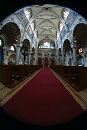
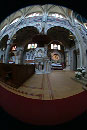
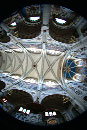
The images show the recently renovated "Kloster-
und Wallfahrtskirche der Unbeschuhten Karmeliten" in Vienna.
The first 4 images are taken in portrait mode. The 5th image
is the so called zenith- or sky-image. I did not shoot a nadir- (or
floor-)image because of the regular texture of the floor.
To capture the high dynamic range of the interior i have
slightly under-exposed. To get the correct exposure, we have to adapt the
brightness of the finished panorama.
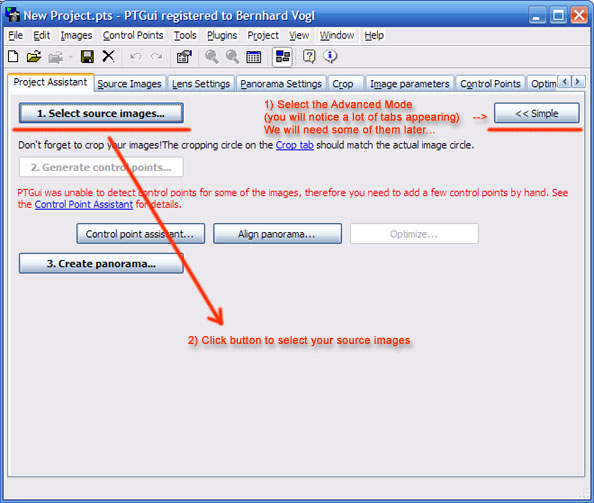
Please start now by opening PTGui and loading the Source-images:
For further processing the images, we need to rotate them to portrait
mode.
A simple method is to use the "PTGui Project Assistant" on the first
tab.
If you get a popup window when loading the source images, telling you about
EXIF-data in the JPEG-images, you can savely omit this dialog by pressing
[Cancel]. This is, because PTGui can't automatically detect Fisheye images.
Rotoate the images accordingly and enter the correct values of your lens in
the fields below. Some examples of widely used lenses:
- 8mm Fisheye (e.g.. Sigma): Lens type: Circular, H-FOV: 160°. -
This is the horizontal FOV, therefore it is only 160° on a typical
DSLR. Full frame cameras or Film Cameras will use the full 180 degrees.
- 10.5mm Nikkor DX Fisheye: Lens type: Fullframe, H-FOV: 130°.
Now click the [Generate Control Points] button. After some time, PTGui
will have generated some Control Points and pre-optimized the panorama.
Don't be confused by the strange appearance of the optimization. We will
correct this now step by step:
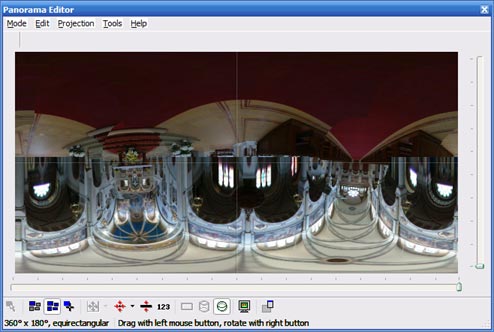
First of all - check if PTGui has correctly set up a full equirectangular
Panorama:

Because the Assistant has mis-interpreted the rotation, we will roughly
correct rotation. This can be done with the PTGui Editor:
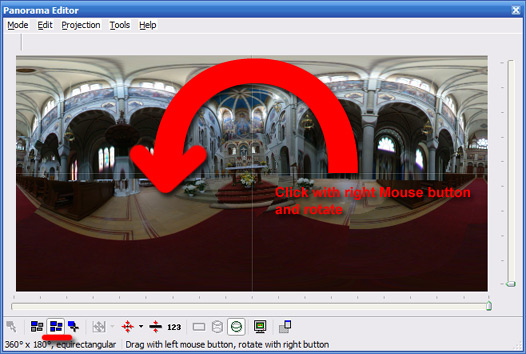
The correct re-calculation of the source images will take place when
releasing the mouse button.
Also,
Don't worry about the black edges of your source images. You can remove them by clicking on the
"Crop"-tab. Cropping the image is helpful for visualizing the
panorama in the editor window and a smoother overlap between the images.
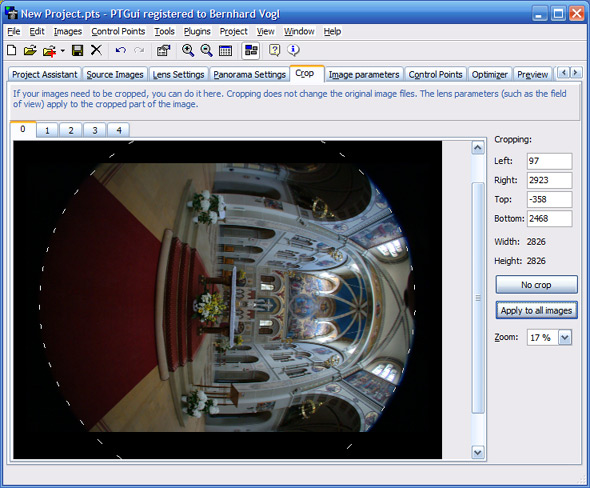
With a click on the button "Apply to all images" we will transfer the
crop to the rest of the images.
If you look closely you will notice that PTGui automatically adapts the
field of view of your lens. This is OK - we use a guessed value which
normally would be about 170-180 degrees of a 8mm fisheye on a DSLR.
Now advance to Part 3: Fine-tuning with
PTGui |
