|
|
Creating Panoramas with PTGui and Panotools
Introduction -
Loading the images and automatic control point
generation -
Panorama settings and projection types -
Revising control points and levelling the horizon -
Stitching and blending Loading the images:
-
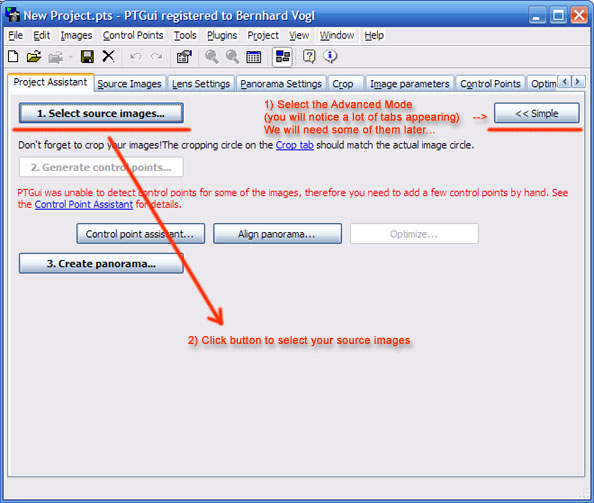
If not already active, select the "Project Assistant" Tab.
-
Select Advanced Mode (we will need it later)
-
Select your source images
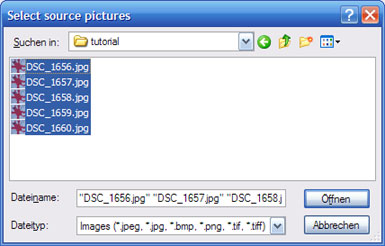
A file dialog will appear. Select all your source images and
click "Open"
If your image contain EXIF data, PTGui will read it and
display a dialog box with the correct FOV-values of your lens:
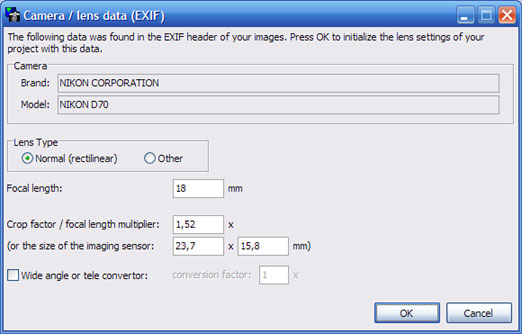
As long as you don't use special lenses like a fisheye lens
you can safely take over the values by clicking "OK".
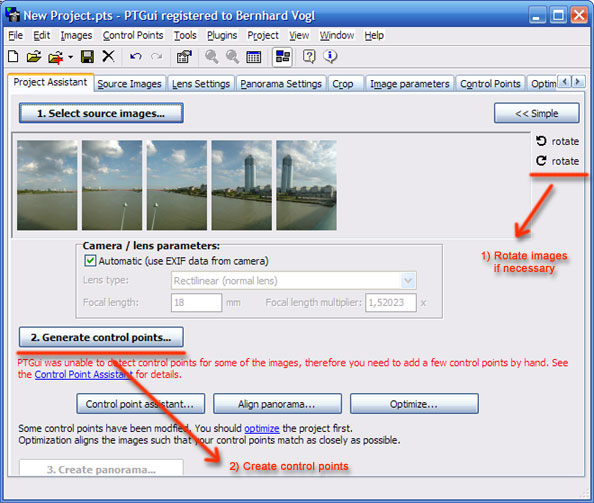
In my example, the images are taken in portrait mode, so we
have to rotate them accordingly. You will find the "rotate"-buttons on the
right side next to the loaded images.
Also, you will notice that the "Generate control points" has become active.
Click it to have the control points create for you.
Control point creation is a science of its own: How
many to use per image pair, how to distribute best over the source
images etc.
We will heavily rely on the automatic control point creation. In most of
the cases it will generate 10 well distributed control points per image
pair.
If you want more control points for whatever reason, you can increase
the value in the "options"-menu. If you want to decrease the value, be
careful: You need at least one pair per image for each parameter you
want to optimize later... |
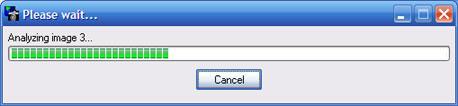
A progress window will appear:
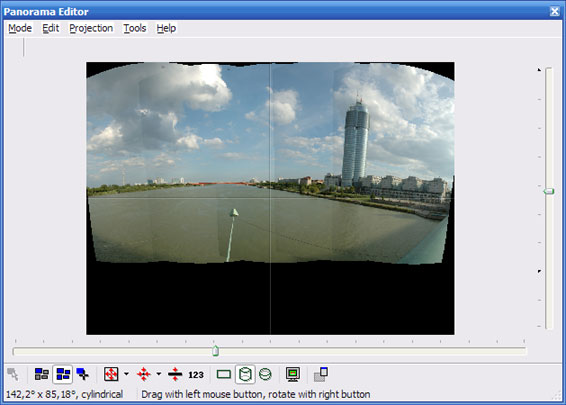
You should now take a look at the "Panorama Editor" window.
PTGui has now automatically generated the control points, optimized them and
aligned your panorama accordingly.
At a first glance, this already looks
good exept for verticals and horizontals
which are not displayed correctly. This is why we have to do some advanced
editing.
Next step: Panorama settings and projection
types |